How to Clicker Train Your Puppy with the BARKIE Kit: A 5-Step Beginner Guide
When I brought Maisy home, I naively thought Aussies were born knowing how to herd. Reality check: 72 hours in, she was just a fluffy terror gnawing on my baseboards. She'd stare at me, head tilted, tail wagging — zero comprehension. I'd read about clicker training, watched a few TikToks, but had no idea if it actually worked or if I'd just be fumbling with another gadget.
Two months later, she has a reliable sit, down, stay, come, leave it, and loose-leash walking in progress. The clicker is the single biggest reason. Not because it's magic — because it's precise. That distinct snap marks the exact millisecond she did something right, and she knows a treat is coming. No ambiguity. No "good girl" in three different tones depending on my mood.
Here is exactly how I trained her and avoided common rookie mistakes.
My Training Gear: What Actually Got Used
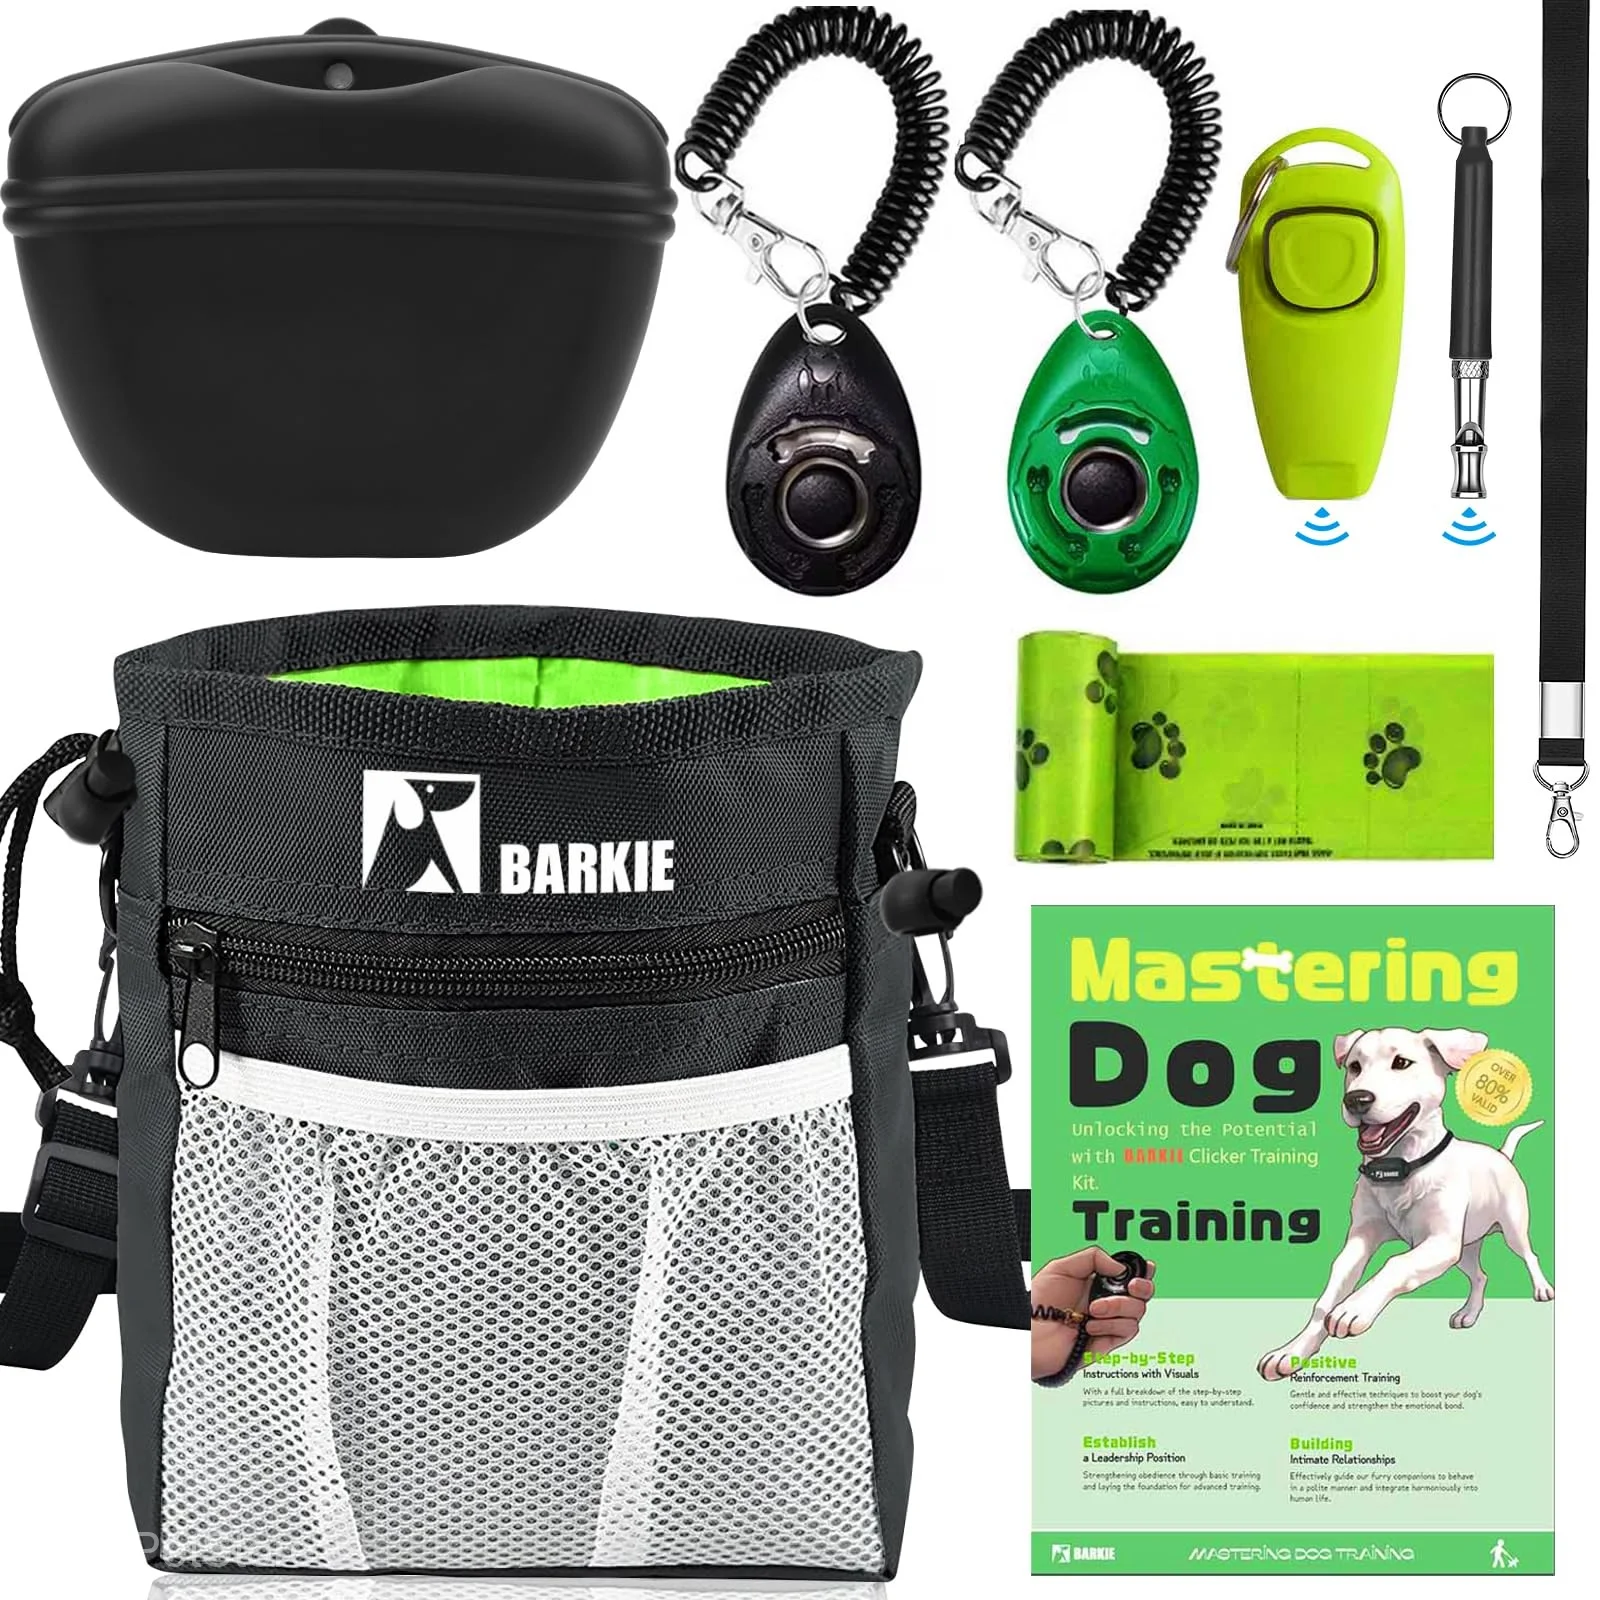
I bought a basic training kit that came with a treat pouch (silicone-lined, clip-on or belt-loop), two clickers (one wrist-strap, one handheld), and an ultrasonic training whistle. I ended up living in this ugly silicone treat pouch. It looked ridiculous, but trying to fish greasy hot dog bits out of my jeans pockets was a disaster.
The ultrasonic whistle I used once — it's a deterrent for barking/jumping, not a training tool, and a puppy just learning her name doesn't need correction. The clickers themselves are standard: metal spring, distinct snap, audible from 15 feet away even outdoors. The wrist-strap version clips to a belt loop so you don't lose it between sessions.
Step 1: Charge the Clicker — Teaching Your Puppy the Sound Means "Treat"
Before you teach a single command, your puppy needs to understand that click = reward incoming. This is called "charging the marker." It takes about 5 minutes and 20 treats.
Sit with your puppy in a quiet room. Click once. Immediately toss a treat to her. Click. Treat. Click. Treat. No commands, no expectations — you're building an association. After about 15 repetitions, you'll see the head whip around the instant she hears the click. That's the signal: she's ready for the next step.
Early on, I kept clicking at her just to get her attention without handing over a treat. I completely ruined the association for a few days and had to start over.
Keep your treat pouch open on the floor right beside you, treats within fingertip reach. Speed matters more than treat quality in this phase. Kibble works. You're teaching a Pavlovian response, not bribing for performance.
Step 2: Lure, Mark, Reward — Teaching 'Sit'
With the clicker charged, you can now mark specific behaviors. The flow is: lure the dog into position → click the instant she does it → treat. Start with "sit" — it's the easiest to capture.
Hold a treat at your puppy's nose. Slowly lift it up and back over her head. As her head follows the treat, her rear drops. The moment her butt touches the floor, click. Then treat. After 5-6 repetitions, she'll start offering the sit without the lure — she's figured out what earns the click.
Now add the verbal cue. Say "sit" once — clearly, not shouted — then wait. If she sits, click + treat. If she doesn't, lure her into it again. Never repeat the cue ("sit... sit... SIT!"). Repeating teaches her that the command is optional until you sound frustrated. Say it once, wait 5 seconds, then lure if needed.
A standard clicker's snap is loud enough to cut through distraction better than a marker word. In my living room with the TV on, the click cut through; "yes!" got buried.
Step 3: Shape Stay — From 1 Second to 5 Minutes
Stay is built in layers. Start with your puppy in a sit. Say "stay," hold your palm flat toward her face, and wait exactly one second. If she holds, click + treat. Then two seconds. Three. Five. If she breaks before the click, no treat — reset and try a shorter duration.
I’d get cocky because she stayed for three seconds, so I’d immediately walk across the room. She’d break instantly, and I had to learn to just take a half-step back instead. Duration first, then distance, then distraction — in that order. A puppy who can hold a 30-second stay at your feet is not ready for a 30-second stay from across the room. Every time you add a new variable, drop the other two to zero.
I kept my treat pouch clipped to my waistband for stay training — it freed both hands for hand signals and meant I never had to turn my back to reach for a reward. Small thing, but when you're shaping a stay from 8 seconds to 10 seconds, reaching for a treat on the table resets everything.
Clicker vs. Verbal Marker: Which is Better?
This is the most common question: "Can't I just say 'yes!' instead of carrying a clicker?" It really depends on the situation.
The clicker's advantage is consistency. It sounds exactly the same every time — zero variation in tone, pitch, or volume. Your "yes!" on a Tuesday morning sounds different from your "yes!" on a Friday evening when you're tired. Dogs notice. For precision behaviors (shaping a heel, marking a split-second paw lift), the clicker is measurably faster and more accurate.
The marker word's advantage is convenience. You always have it. When your puppy offers a spontaneous down-stay while you're cooking, you can mark it verbally without scrambling for the clicker. Many trainers use both: clicker for dedicated sessions, marker word for everyday reinforcement.
I started clicker-only, then layered in "yes" for impromptu moments. My puppy responds to both. The clicker was essential for the initial learning phase; the marker word maintains behaviors she already knows.
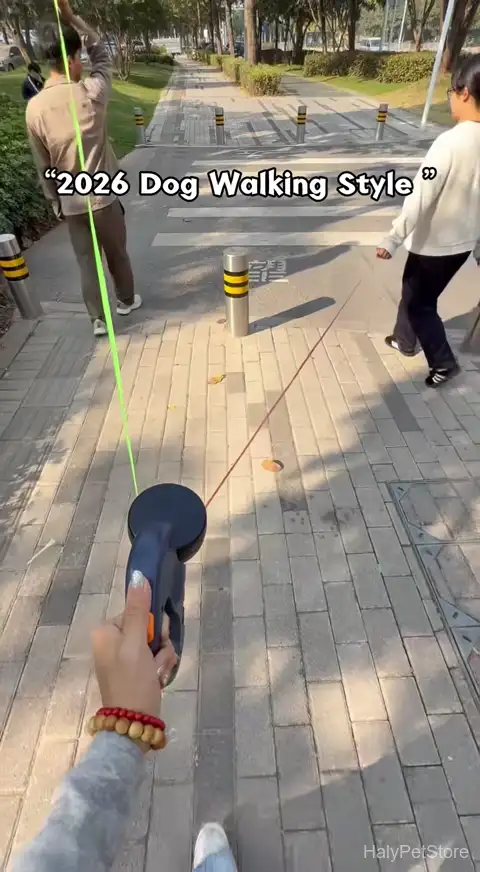
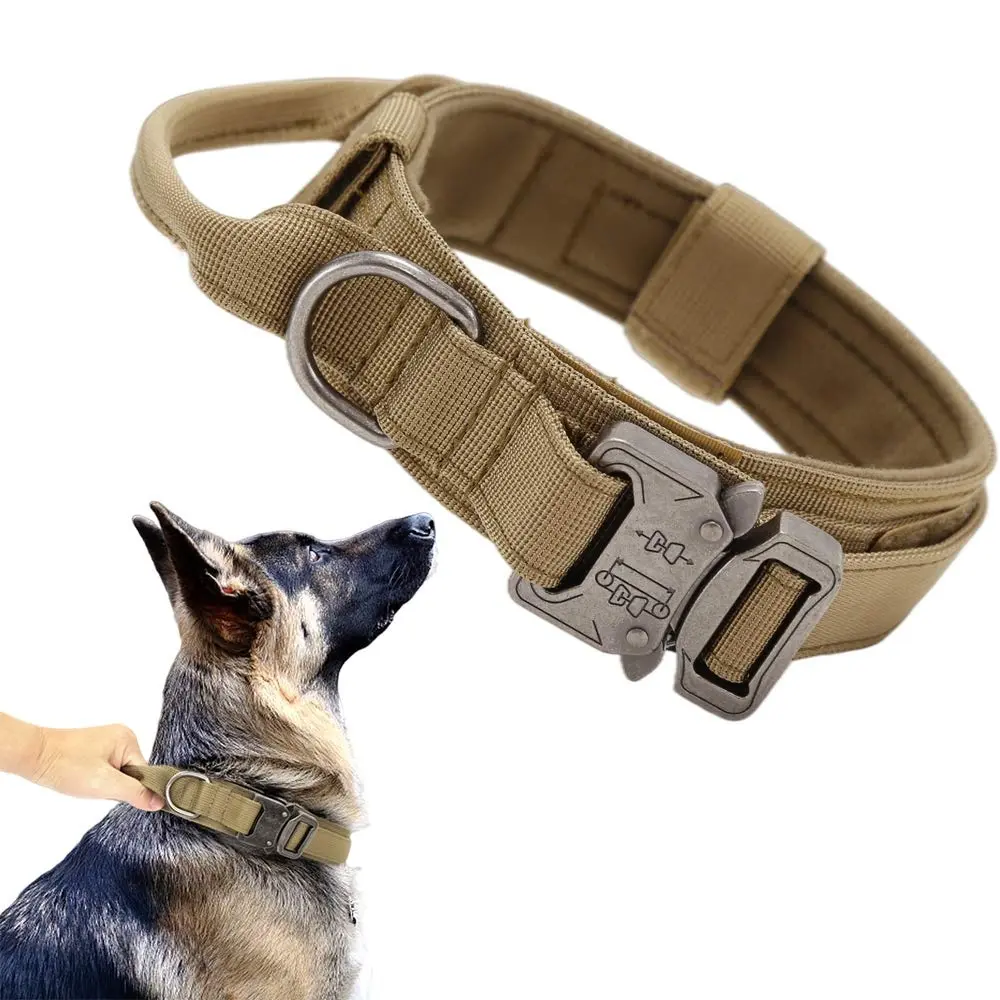
Walking was a nightmare at first. I had to use a front-clip harness just to save my shoulder while we practiced the click-and-treat rhythm out on the sidewalk. The harness managed the pulling while the clicker rewarded slack-leash moments. Once she understood the concept, I switched to her regular collar.
Common Clicker Training Mistakes (I Made Most of These)
Clicking without treating. Every single click must be followed by a treat — even if you clicked by accident. An accidental click is still a promise.
Poor timing. The click marks the behavior, not the result. Click the sit, not the treat-eating. If your puppy sits, then stands up, and THEN you click — you just marked standing up. Timing under a second matters.
Session length. Five minutes, three times a day, beats one 15-minute session. A puppy’s brain is basically static noise after five minutes. If I pushed a session to ten, she would just start biting my ankles out of frustration. End on a win — a clean sit or a solid stay — not when she's losing focus.
Training when overstimulated. A post-walk zoomies session is not training time. Neither is right before dinner when she's hungry and fixated on the kitchen. Pick calm moments.
Not generalizing. "Sit" in the living room ≠ "sit" at the park. Once a command is solid indoors, re-teach it from scratch in new environments. Your clicker is small enough to carry everywhere for the first 4-6 weeks.
What to Expect: A Realistic Training Timeline
With consistent daily 5-minute sessions:
- Week 1: Clicker charged. Sit on verbal cue with lure. 5-second stay.
- Week 2: Down added. Stay extended to 15 seconds. Loose-leash walking begins indoors.
- Week 3: Sit/down without lures. Stay at distance (10 feet). Come when called in quiet environments.
- Weeks 4-6: All cues generalized to outdoor settings. Stay with mild distractions. Leave it introduced.
- Month 2+: Off-leash reliability begins. Duration stays (1-5 minutes). Polite greetings.
Maisy nailed 'sit' almost immediately, but getting her to lie down took weeks. She hated the cold hardwood floor. You just have to figure out your own dog's weird hang-ups.
I knew we turned a corner last Tuesday. A squirrel ran across the fence, and instead of lunging, she snapped her head around to look at me, waiting for her click.